
Hey everyone. I'm Doc Miles at North American Rescue. Today I am going to be going over some ventilator tips for people that either are not familiar anymore or don't often use ventilators.
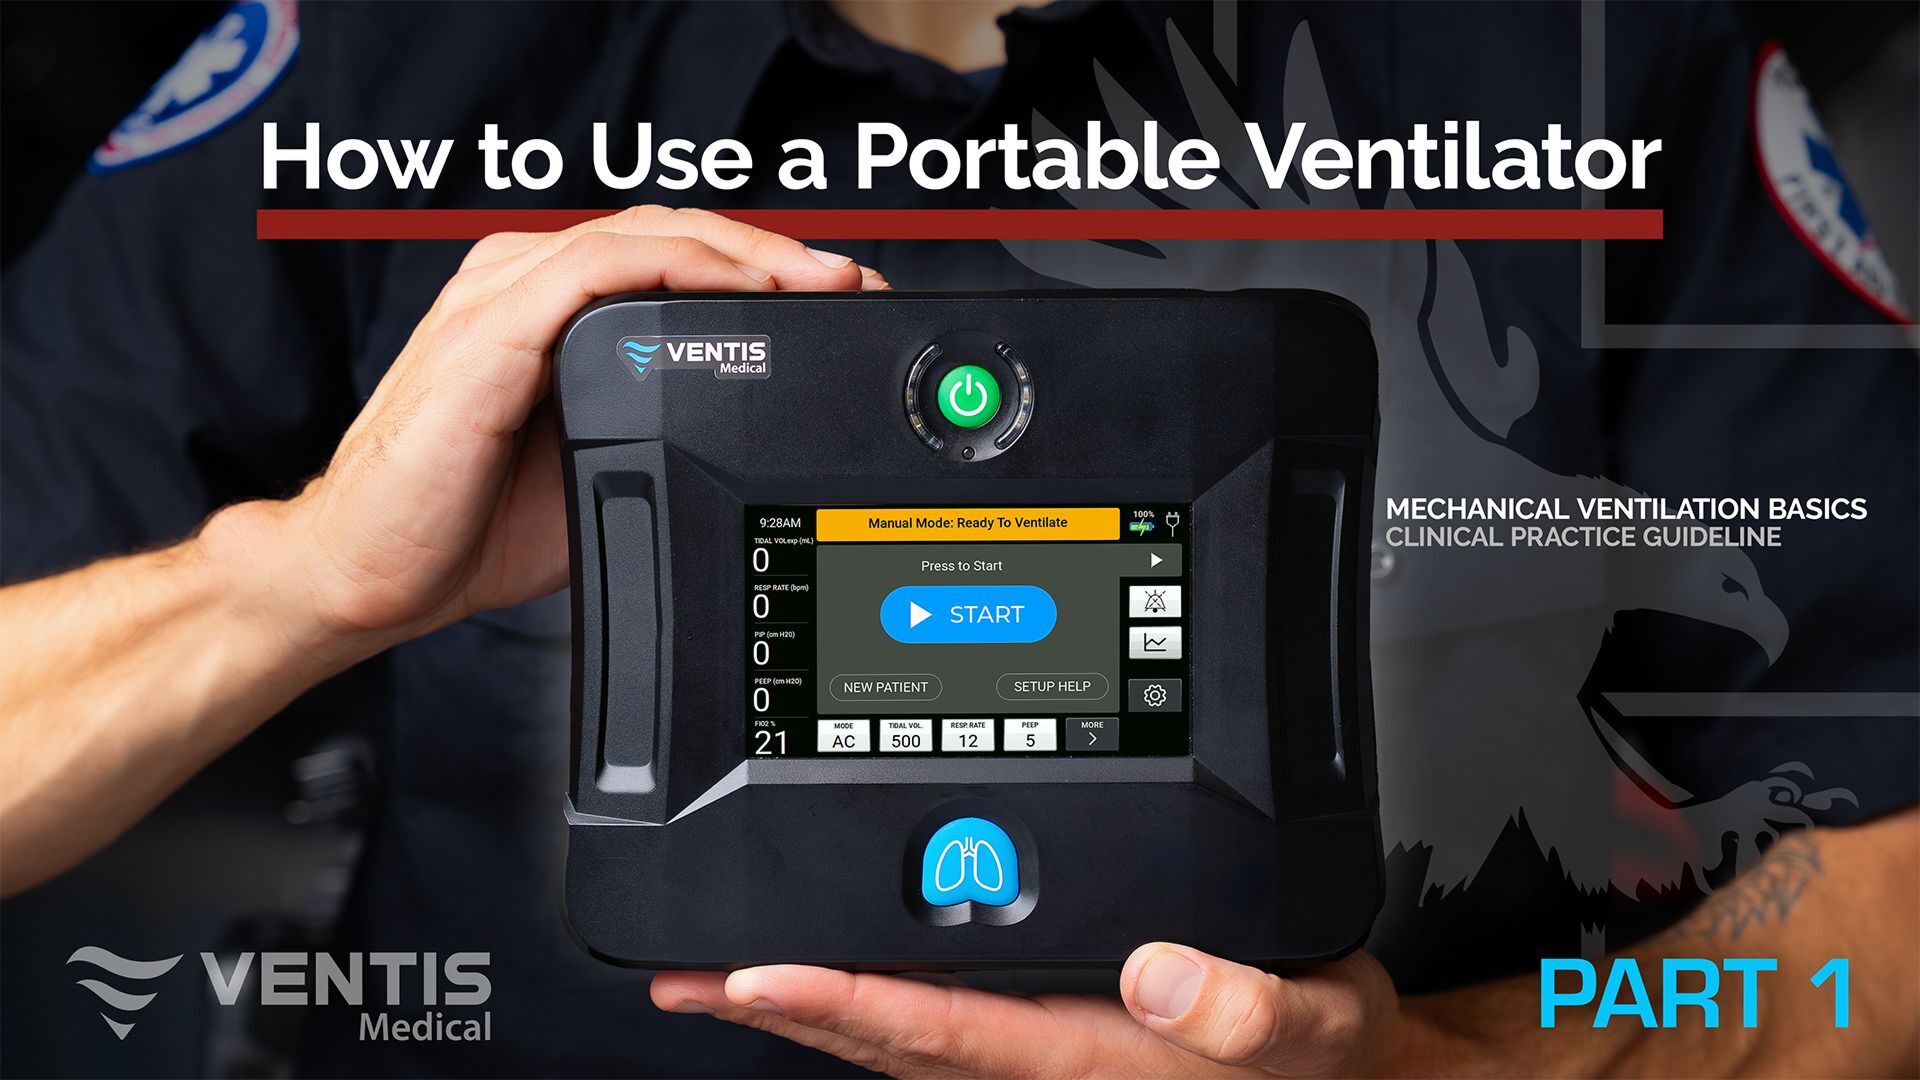
The Joint Trauma System recently came out with an updated CPG or Clinical Practice Guideline on Mechanical Ventilation Basics. The JTS CPG talks about some basic settings that'll get you set up for initial success with your patient, and then you can adjust from there.
Equipment
The first thing you're going to need is a few key pieces of equipment.
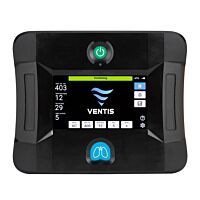
So first of all, I've got a secured airway from my patient. That can either be an endotracheal tube where I've intubated the patient, or in this patient, I've done a cric to secure the airway. Next up, I want a vent. So here we've got the Ventis HeroVent, which is a really nice option if you don't use ventilators very often. It's small, it's compact, and it's got a lot of features that'll help you get off to an easy start and then be able to refine with your patient.
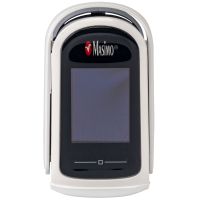
We've got our connector tubing, which I already have set up. I've got an end-tidal C02 monitor. This is an EMMA The end-tidal C02 detector is critical for patient monitoring when they're on vent. This is really what we can use to get a good idea of how well our patient is doing and how we need to adjust some of the settings to optimize their success. Finally, I also have a pulse oximeter on me, so you can see this equipment fairly compact. I can monitor what their oxygen status is. I can get their pulse, I can get their end tidal, C02.
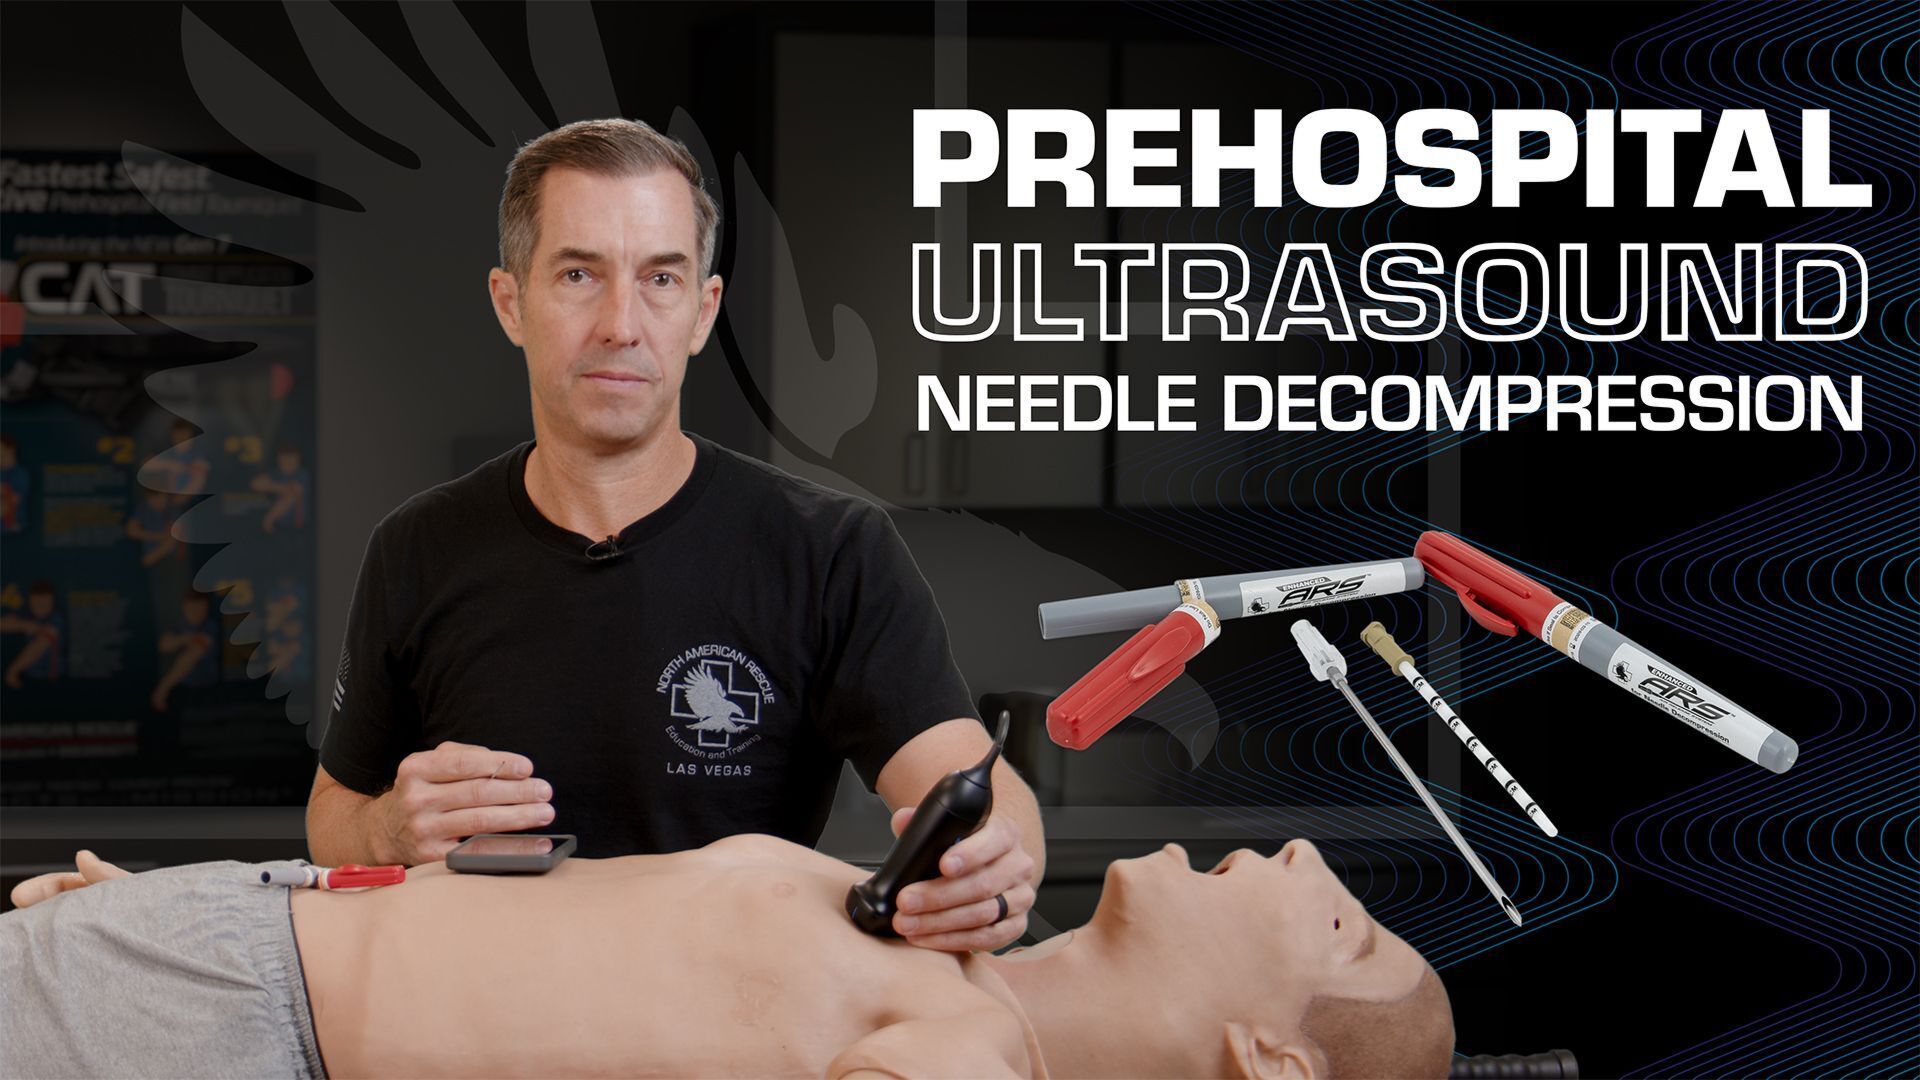
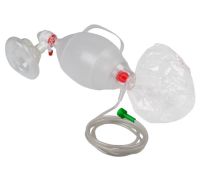
Then also, anytime I ventilate a patient, a ventilator's great. But if it runs out of batteries, if there's some sort of a failure or some sort of a problem, I want to have a backup. So I'm always going to have my BVM with me, and that way, if everything goes wrong, I can always grab the BVM and I can mechanically ventilate on my own with or without a ventilator. Finally, I'm always going to have the ability to decompress a patient's chest if needed. I've got an Enhanced ARS® with me. Keep in mind, like we've posted about before, tension pneumothorax can develop much more rapidly and severely in a patient that you are ventilating.
So if I'm doing positive pressure ventilation, which basically means I'm forcing air into that patient's chest, either with a bag or with a ventilator, it's pressurizing the chest more, I'm getting more pressure in than if they were spontaneously breathing and because of that increased pressure, if there's damage to the lung or they blow out a bleb or one of the alveoli or some of the alveoli in the patient that can force air from the outside through that defect in the lung and into the chest wall, causing a Tension pneumothorax. So anytime you're ventilating a patient, you need to be very careful to look out for a Tension pneumothorax.
Initial Ventilator Setup
So let's talk about initial ventilator setup. So what we want to do is get a good idea of our patient size, and that can be a rough guess.
And then we're going to go through the steps in the JTS CPG to determine initial ventilator settings. Keep in mind that this is kind of a general ballpark guess at a patient. There's going to be a lot of different circumstances where we're going to have very different ventilator settings, and you can go through literally hundreds of different settings and adjustments for your patient.
So this is a way to get a ballpark look and then adjust fire from there once you're set up and ventilating the patient.
Set the mode to AC
So I've got my ventilator, it's turned on. The first thing I'm going to do is set the mode right over here. I'm going to pick AC. AC is assist control, and essentially, what that does is it's a setting in the ventilator where I pick the respiratory rate. So here we're going to have it picked at 14, at least 14 times a minute. That ventilator is going to deliver an entire tidal volume of air that I set. So one complete breath. Now, what AC does is it also allows the patient to breathe on their own. So if the patient starts to inhale, even if it's a weak inhalation, the ventilator will sense that and it'll deliver an entire breath of air to that patient. So if I haven't set at 14 at a baseline, the patient is going to breathe 14. If they don't do any work at all, if they over breathe that, then they can have a higher respiratory rate, so they could be breathing at a rate of 20, and this thing is just making sure they get a full tidal volume each time they inhale. If the patient stops breathing, it's going to go back to the default rate of 14 breaths per minute.
Set the Tidal Volume
Now, in setting up a tidal volume, there are a couple of different ways you can do it. The ideal start for a tidal volume for your patient is four to six mLs per kilogram of ideal body weight. So if your patient is overweight, we're going to go off their ideal body weight, which is really based on their height. That's the calculation for it. Now, there's a nice table in the JTS CPG, which goes through different heights that you can just kind of keep in hand and have that memorized. What I like to do is memorize it for myself for a starting point. I'm 5ft 9, 69 inches. ideal starting title volume is going to be 420 mLs, and then I can adjust from there as a good guesstimate based on whether my patient is taller than me or if they're shorter than me. So I'm going to go ahead and program in 420, and I'm going to confirm that I've now got my mode. I've got my tidal volume.
Set the Respitory Rate
The next thing I'm going to do is pick my respiratory rate. JTS CPG recommends that we initially start with a respiratory rate of 14.
Turn on PEEP
Now, the next setting that pops up is PEEP. PEEP is positive end expiratory pressure. What that does is that at the end of the breath, as it ventilates the patient, then the patient will start exhaling. It'll allow that patient to exhale, but it will also keep some pressure as that patient exhales. What that extra little bit of pressure or PEEP does is it helps keep the alveoli open, and so you get better gas exchange.

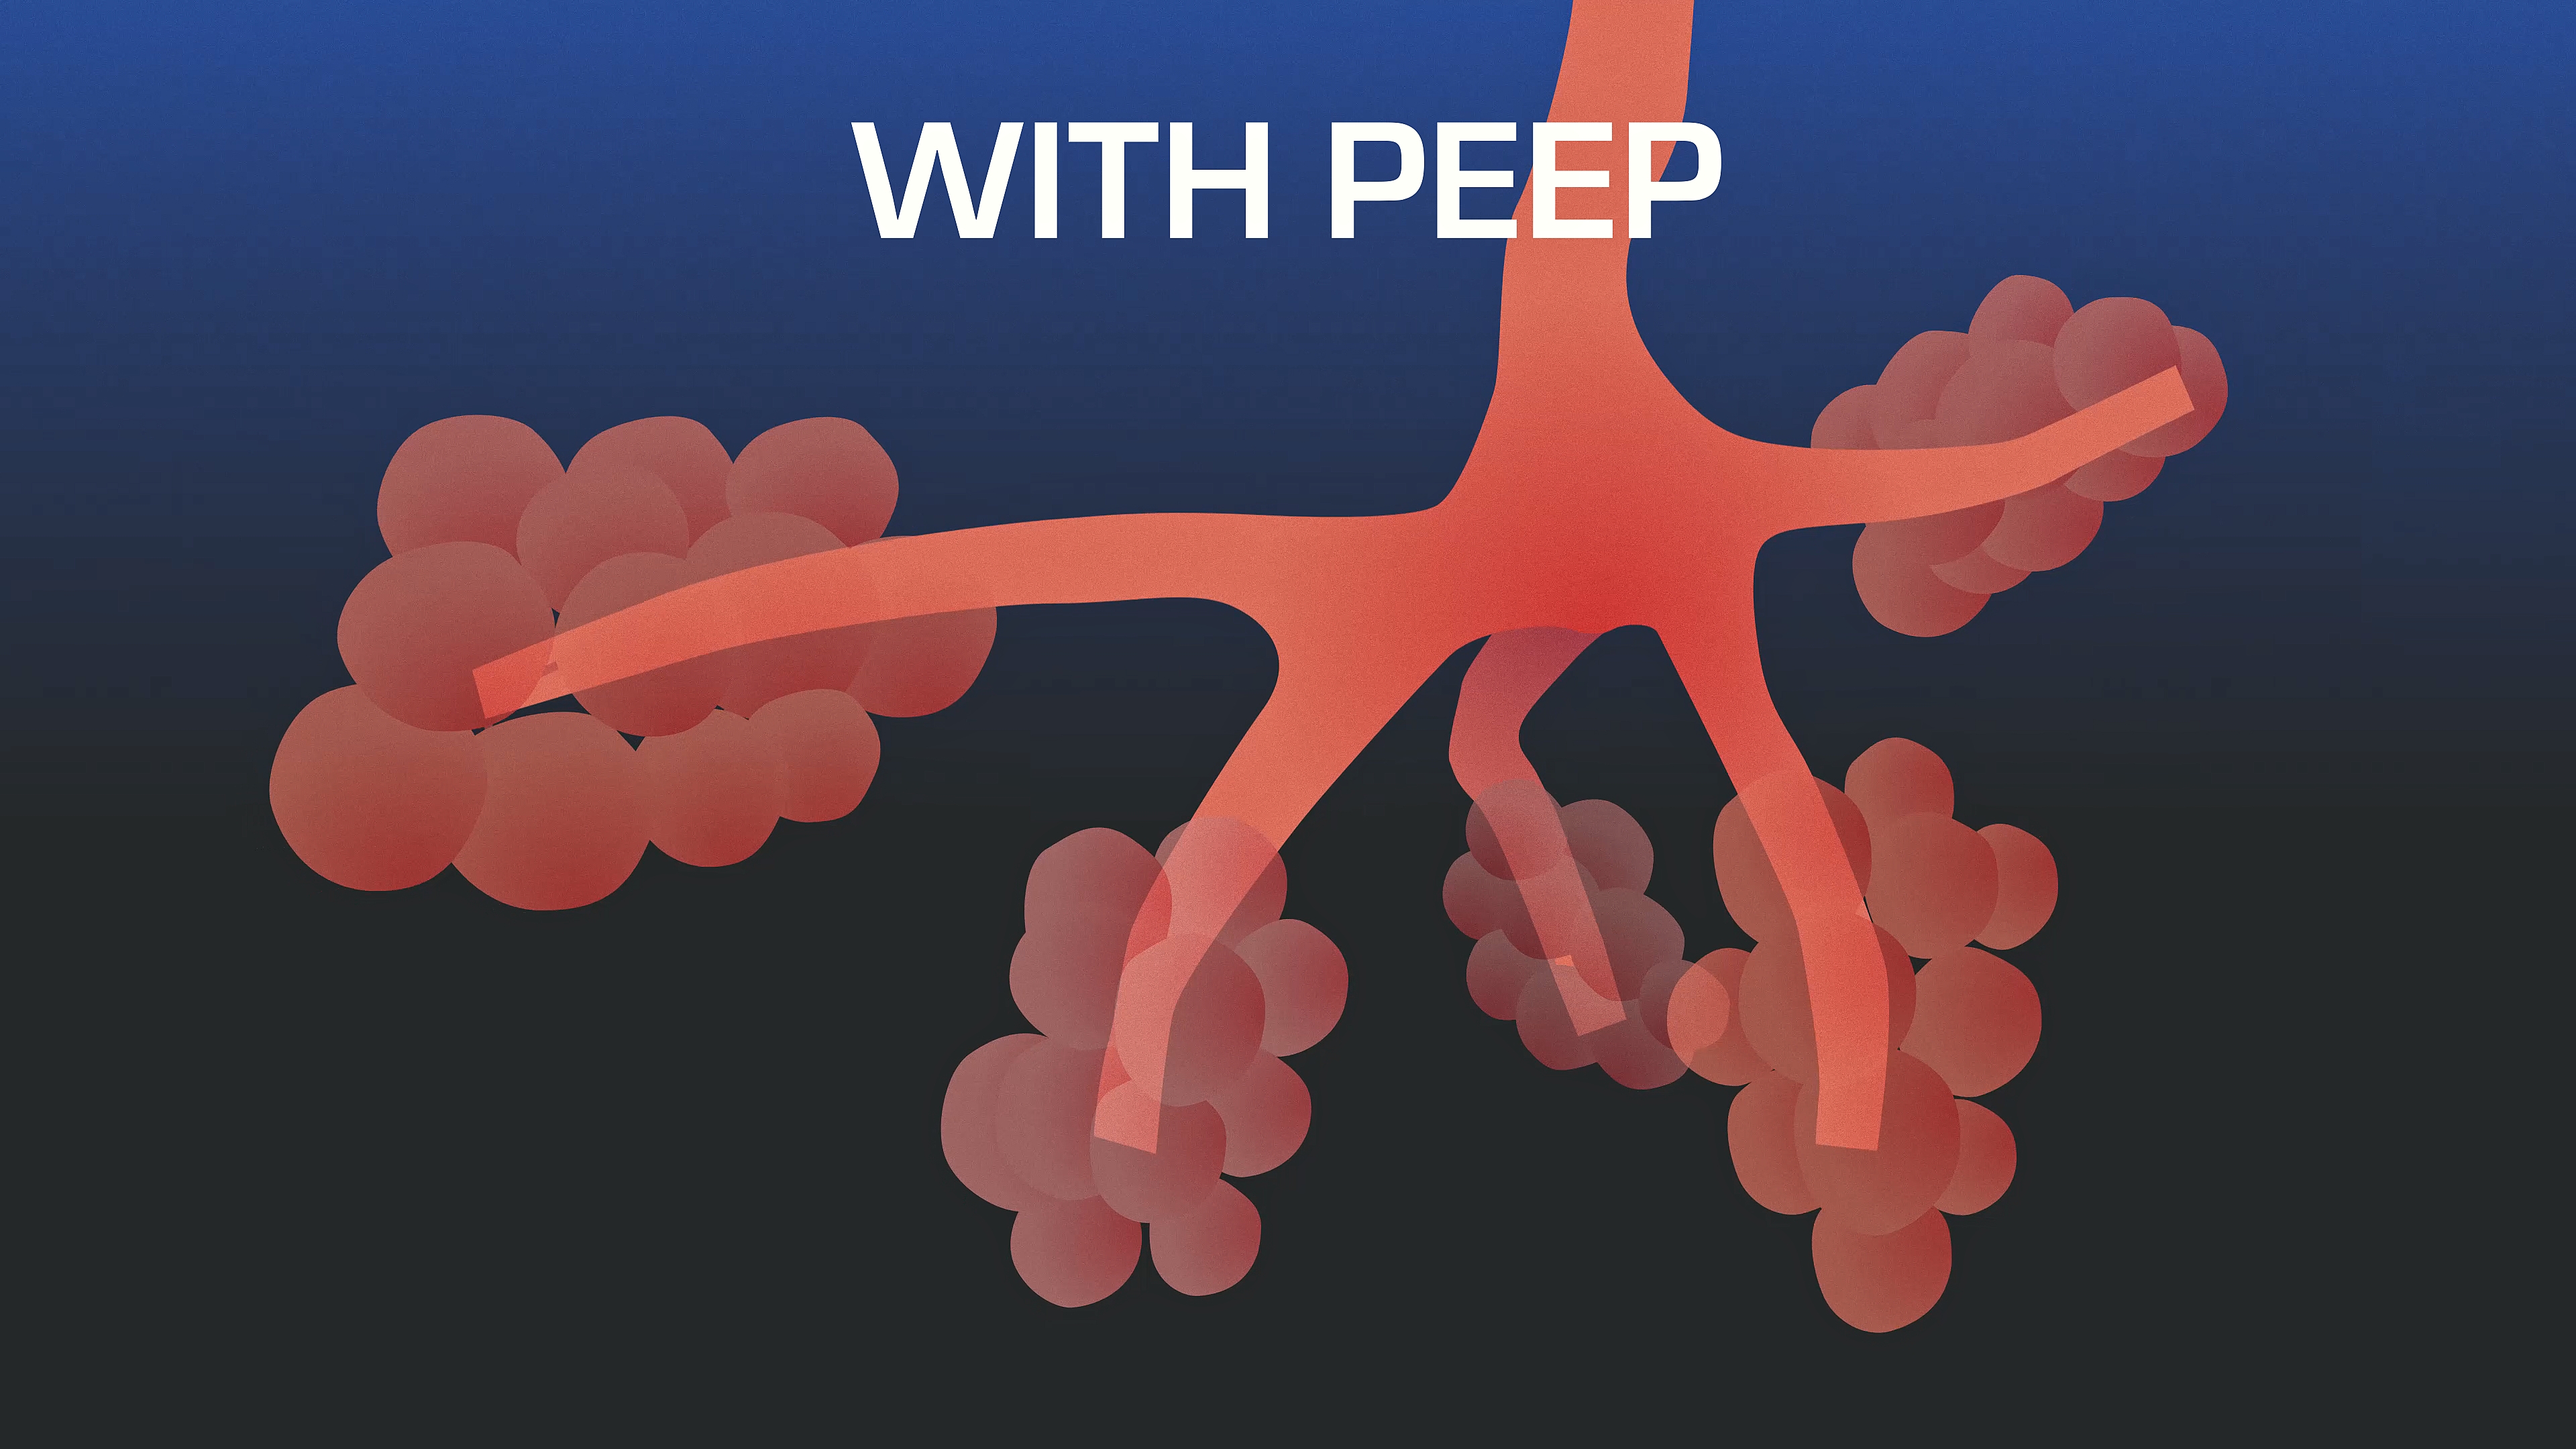
So if a patient is already hypoxic and you're starting them on a ventilator, you may want to start with a PEEP of 10. But in general, a 5 works pretty well. And then if you go up from there, that may help their oxygenation status that we're getting from their pulse oximeter. So I've got my PEEP set at 5.
Adjust FiO2
The final setting that we're going to adjust prior to ventilating our patient, or as we're ventilating our patient, is the FiO2, and that's the fraction of inspired oxygen. In general, what we want to do is we want to start out with a hundred percent. That's maximizing the oxygen content in the air that's being pushed into that patient.
That's a great starting point, and then we can adjust back from there. The goal in your FiO2 is to go ahead and keep your pulse oximeter above 92%. So again, I'm going to take a look at my pulse ox if I'm above 92%. Great, I can start taking down that oxygen level. The nice thing about doing that is that it conserves oxygen, because oxygen tanks are big, heavy, and they'll run out if you just keep them blasting.
So it's a great way to conserve. The JTS CPG also has a way to calculate your burn rate on oxygen, so you know how long that oxygen cylinder is going to last, or at least you get a rough estimate. So now I've got my initial settings set. I'm ventilating the patient. The next thing I'm going to do now is look at my end tidal C02, and now I can adjust it for that patient.
In general, I want to keep an end-tidal C02 of 35 to 45. Now there's a lot more information you can dig into and learn on end-tidal C02, what the waveform looks like and how to expect. Those waveforms to look in different types of physiology. For right now, we're just going to say, Hey, you need to have an end tidal C02, and then we're going to adjust respiratory rate and volume based on how our end-tidal C02 is doing.