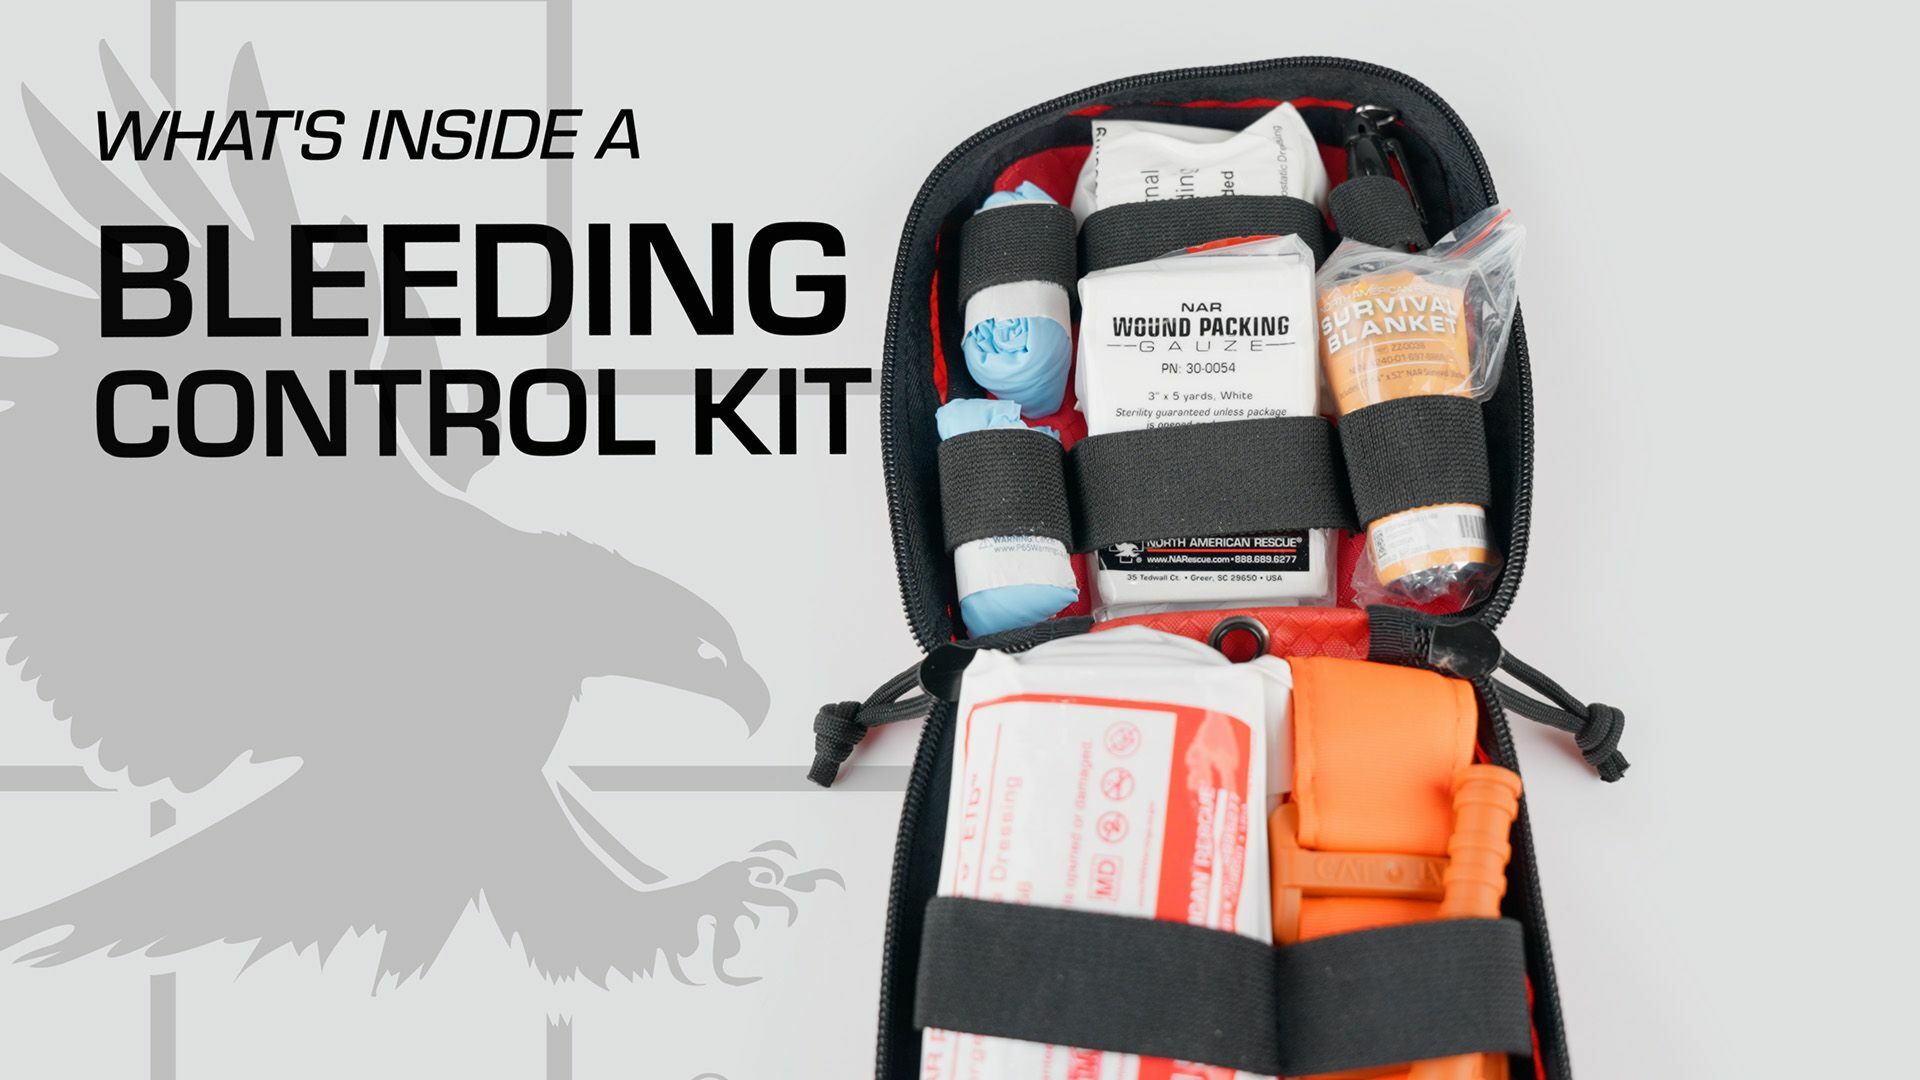

May is Stop the Bleed Month. So let's talk about the steps to take in, Stop The Bleed in an emergency, and what's inside a bleeding control kit.
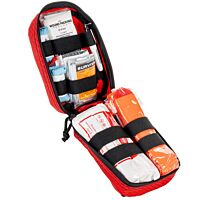
So the first thing I'm going to do is open this up and what I see are the bleeding control instructions. Hopefully you've read through these ahead of time and you're not trying to figure this out for the first time In an emergency, when we open up the kit, you're going to find gloves inside the kit so you can go ahead and put those on so you're protected from any kind of exposure.
The next thing you're going to find in here is Wound Packing Gauze. Now this gauze, what we're going to do is go ahead and open this up and pack it inside the wound, and we're going to pack it. Deep, firm, and rapidly holding pressure the entire time. Some of the kits, the advanced kits, will have a hemostatic gauze.
This is a plain packing gauze that will still help for hemorrhage control, but a hemostatic gauze. Like this quick clot that you'll find in some of them that actually helps bleeding stop quicker. So it aids in coagulation, so it's a more effective way to pack a wound and to get that bleeding stopped. So if your kit has this in it, you're just going to swap it and use it in the same way.
Also, kits with hemostatic gauze. We'll also have a chest seal in there. So once we've packed that wound, now what we can do is open this up, and we've got an emergency trauma dressing. You're going to take that pad, place it against where you've already packed that wound, and then you're going to wrap that wound circumferentially, applying pressure the entire time that's going to maintain pressure on that wound and hopefully get the bleeding under control.
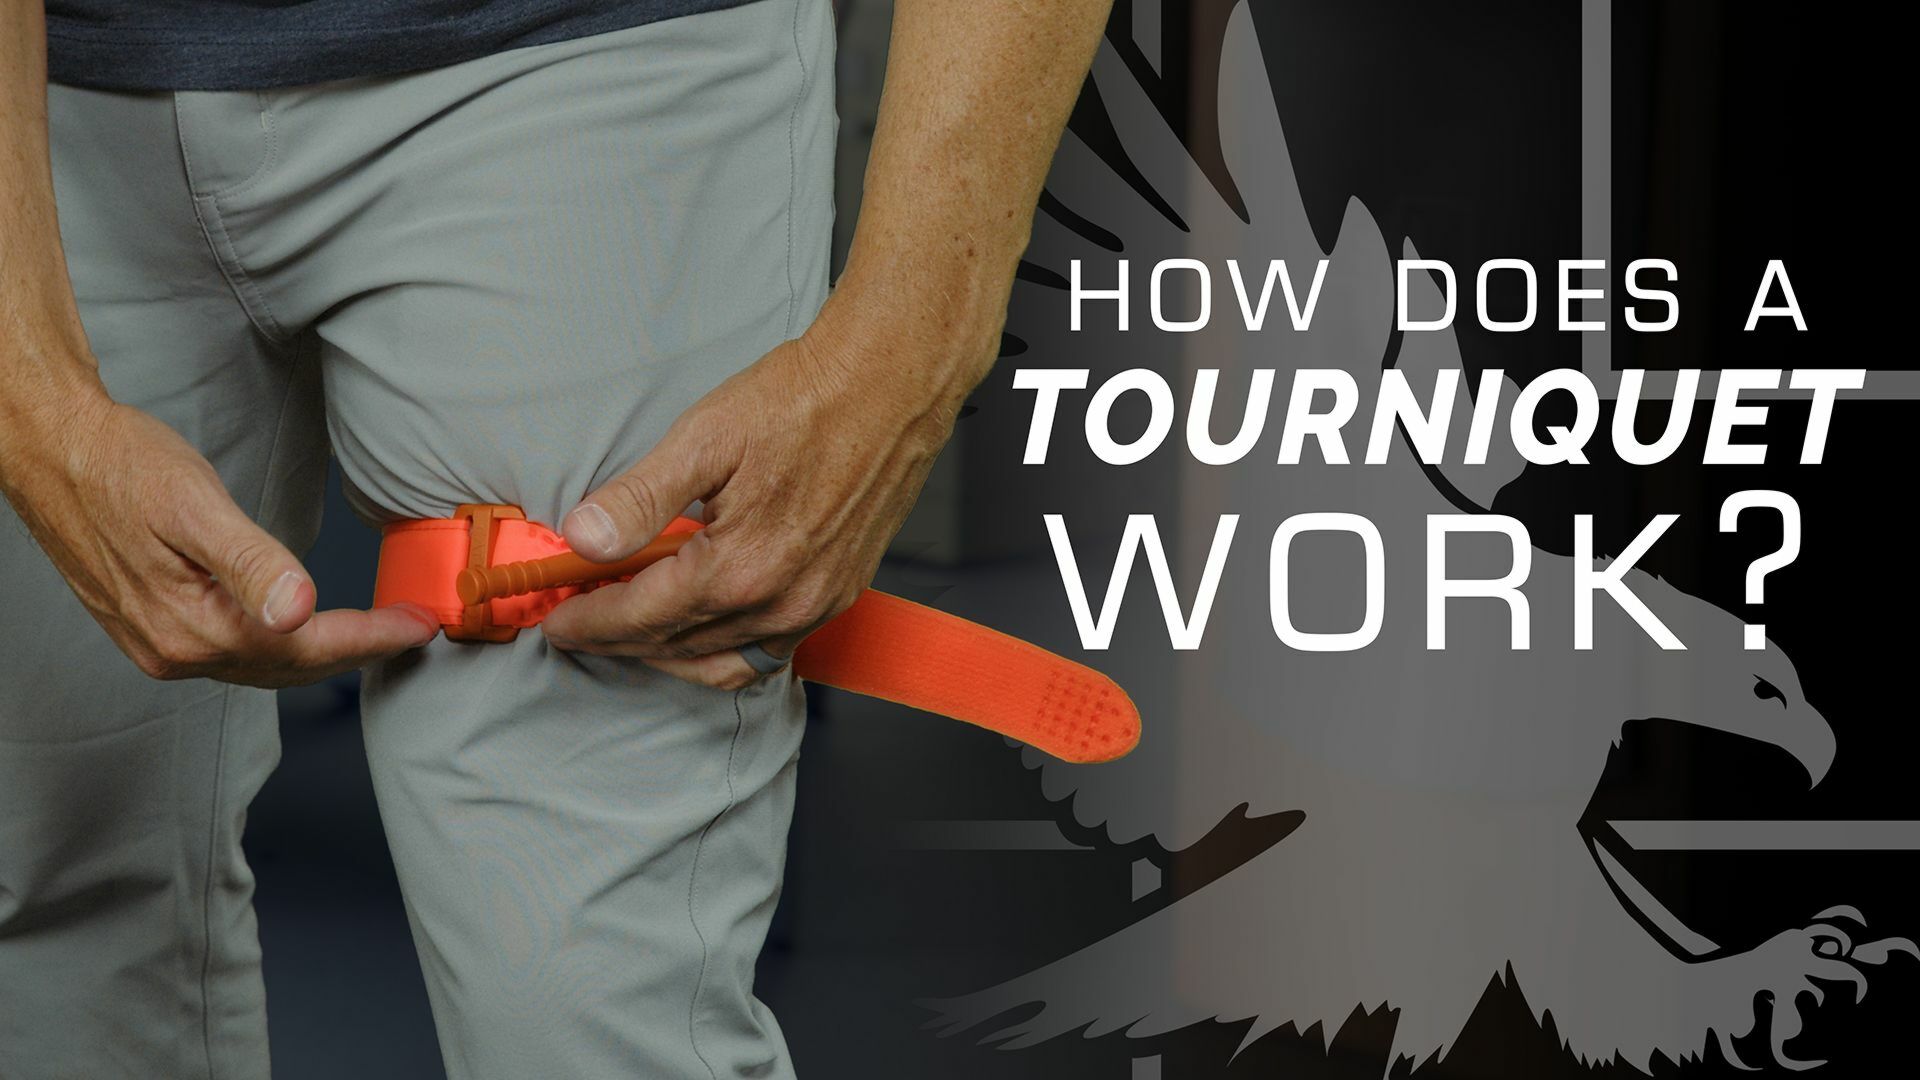
Now, if that doesn't work. We've also got a tourniquet inside. Another thing that I encourage people to do ahead of time is go ahead and remove this wrapping from the tourniquet, because you don't want to take your time when someone's got life-threatening bleeding and have to remove it from there. So this way it's already prepped and prepared.
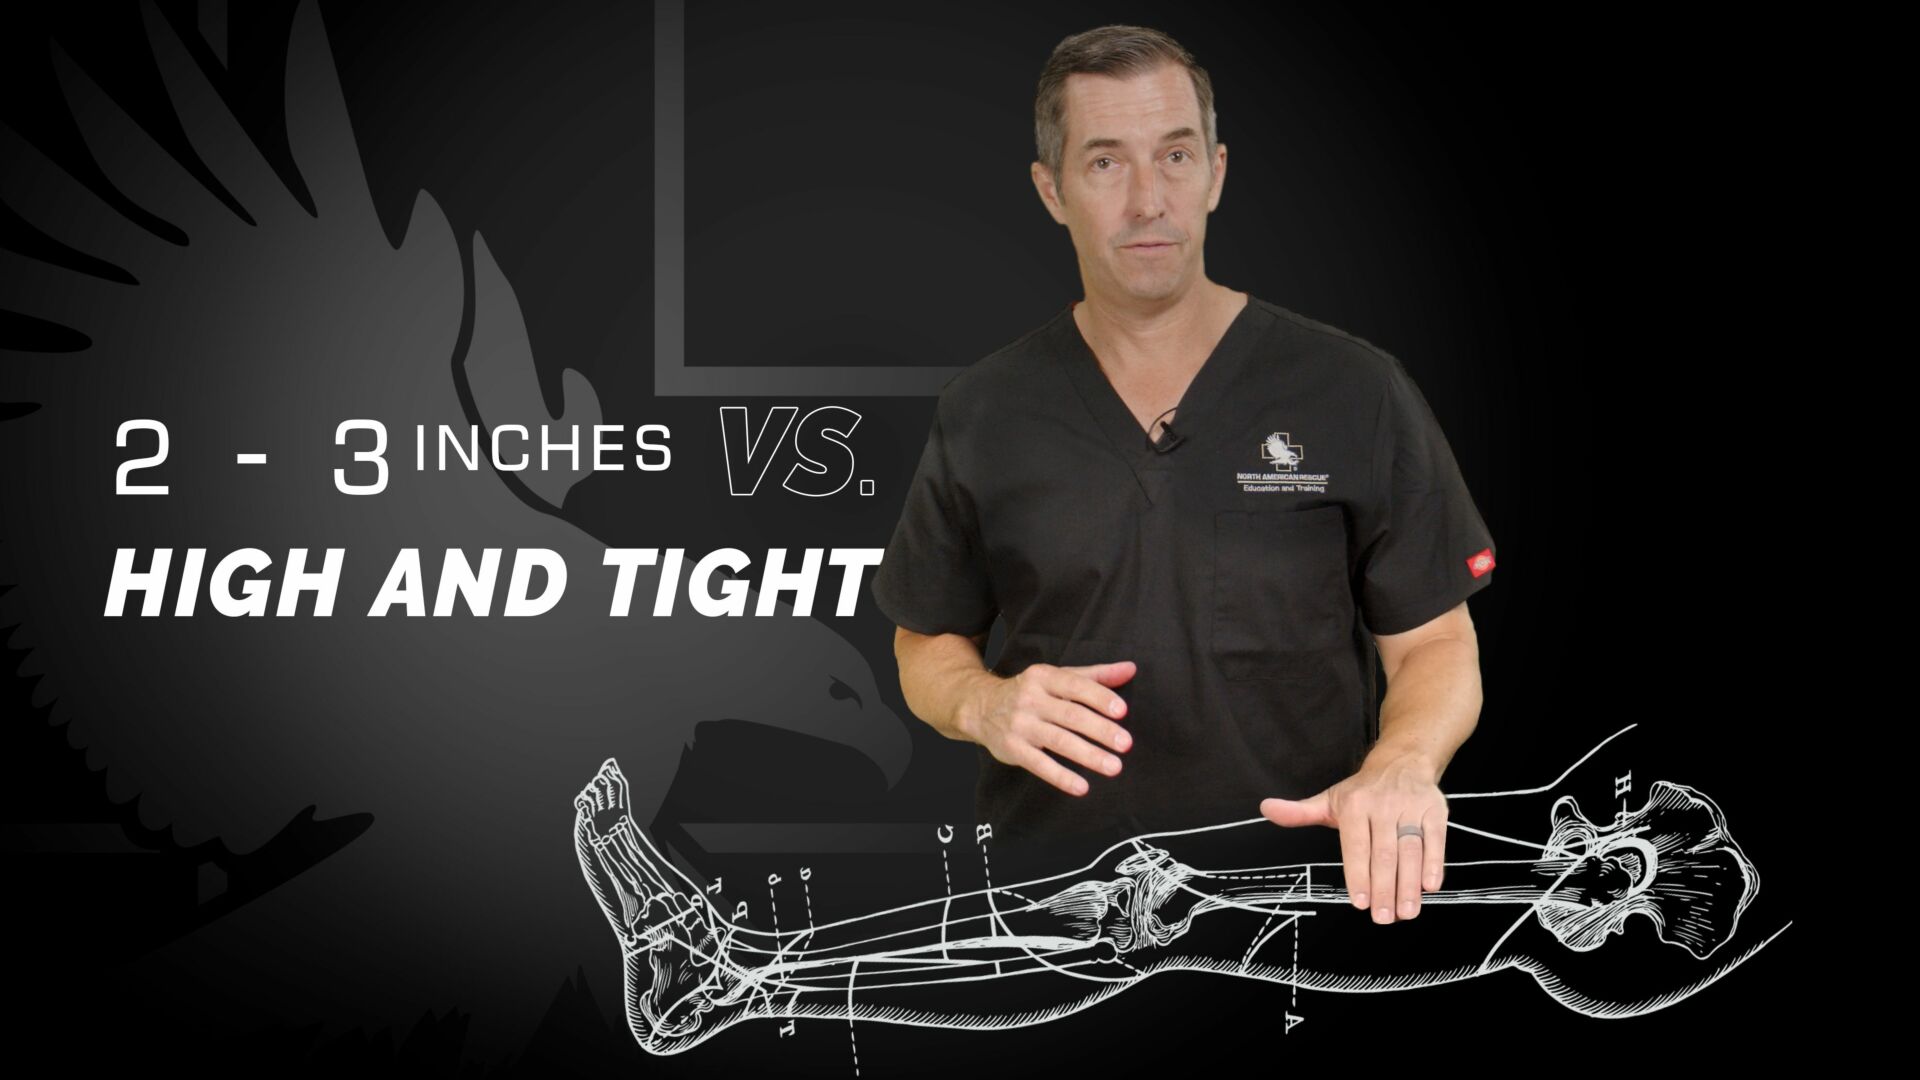
As soon as you open it up, it's in a loop, and now you can apply that tourniquet. So remember, you're going to apply that tourniquet at least two to three inches above the source of bleeding, and you don't want to apply it over a joint. So if I'm bleeding from my wrist, I'm going to go up two to three inches.
Middle of my forearm is absolutely fine, I don't want to put it over. My elbow and I can also go up to my upper extremity to my upper arm and apply the tourniquet there as well. Finally, in the kit, we are going to take our marker once that tourniquet is applied and we're gonna mark the time, and this is gonna help first responders and emergency medical personnel to identify how long that tourniquet is on.
And the next actions that they need to take also in the kit are trauma shears. So you can use these to remove Pants, shirts, whatever you need to in order to rapidly get to the source of bleeding. So that's the time to expose your patient, make sure you've got the source of the bleeding, and make sure you get that bleeding under control.
Finally, in this bleeding control kit is a survival blanket. As a patient gets colder and colder, they're going to bleed more and more. And so we want to make sure that we maintain heat and maintain that temperature as best as possible. So we're going to get our patient wrapped up while we're waiting on EMS to arrive.
So that's what's in a bleeding control kit. Hopefully it helps. Again, I encourage you to get out there, take a class, educate yourself, and then start educating others by becoming an instructor.